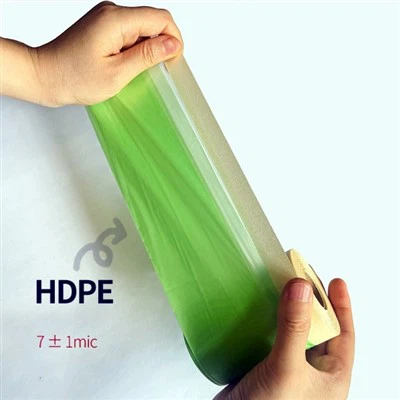
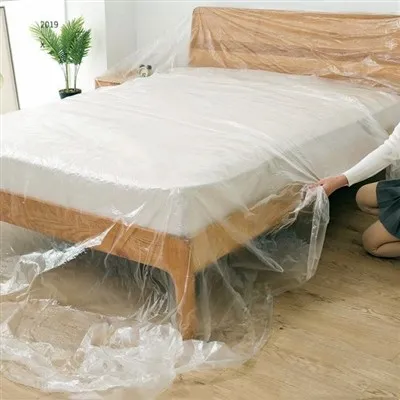
Removing masking film without damaging the surface is a crucial skill, especially if you're into DIY projects, automotive work, or just doing some home repairs. As a masking film supplier, I've seen firsthand how improper removal can lead to a whole bunch of headaches. So, let's dive into some tips and tricks on how to get that masking film off smoothly.
Understanding Your Masking Film
First things first, it's important to know what kind of masking film you're dealing with. There are different types out there, each with its own characteristics. For example, Car Transparent Film is designed specifically for protecting car surfaces during painting or detailing. It's usually very thin and flexible, but it needs to be removed carefully to avoid leaving any residue or scratching the paint.
On the other hand, High Quality Masking Tapes are often used for more heavy-duty applications, like masking off large areas during construction. These tapes can be a bit tougher to remove, especially if they've been on for a long time.


And then there's Transparent Masking Film Tape, which is great for projects where you need to see what's going on underneath. This type of tape is typically very sticky, so you'll need to be extra cautious when removing it.
Preparing for Removal
Before you start peeling off the masking film, it's a good idea to prepare the surface. This will help make the removal process easier and reduce the risk of damage. Here are some steps you can take:
- Clean the Surface: Use a mild detergent and water to clean the surface where the masking film is attached. This will remove any dirt, dust, or grease that could interfere with the removal process.
- Let the Surface Dry: Make sure the surface is completely dry before you start removing the masking film. Moisture can make the tape stickier and more difficult to remove.
- Check the Temperature: Some masking films are more sensitive to temperature than others. If it's too cold, the tape may become brittle and break during removal. If it's too hot, the adhesive may become too sticky and leave residue. Try to remove the masking film when the temperature is between 60°F and 80°F (15°C and 27°C).
Removing the Masking Film
Once you've prepared the surface, it's time to start removing the masking film. Here are some tips to help you do it without damaging the surface:
- Start Slowly: Begin by peeling back a small corner of the masking film at a 45-degree angle. Pull gently and slowly to avoid tearing the tape or leaving residue.
- Use a Heat Gun or Hairdryer: If the masking film is particularly stubborn, you can use a heat gun or hairdryer to warm up the adhesive. This will make it softer and easier to remove. Hold the heat source about 6 inches away from the surface and move it back and forth until the tape starts to loosen.
- Use a Plastic Scraper: If there's any residue left behind after removing the masking film, you can use a plastic scraper to gently scrape it off. Be careful not to use a metal scraper, as this could scratch the surface.
- Clean the Surface Again: Once you've removed the masking film and any residue, use a mild detergent and water to clean the surface again. This will remove any remaining adhesive or dirt.
Special Considerations
Depending on the surface you're working with, there may be some special considerations you need to keep in mind when removing masking film. Here are some examples:
- Glass Surfaces: When removing masking film from glass, be careful not to scratch the surface. You can use a plastic scraper or a razor blade to gently remove the tape, but make sure to hold it at a shallow angle.
- Painted Surfaces: If you're removing masking film from a painted surface, make sure the paint is fully dry before you start. If the paint is still wet, the tape may pull it off. You can also use a heat gun or hairdryer to warm up the adhesive, but be careful not to overheat the paint.
- Delicate Surfaces: For delicate surfaces, like furniture or electronics, you may want to use a less aggressive method of removal. You can try using a citrus-based adhesive remover or a mixture of vinegar and water to dissolve the adhesive.
Conclusion
Removing masking film without damaging the surface is all about being patient and using the right techniques. By understanding your masking film, preparing the surface, and following the tips outlined in this article, you can ensure a smooth and successful removal process.
If you're in the market for high-quality masking film, look no further. As a masking film supplier, we offer a wide range of products to meet your needs. Whether you're working on a small DIY project or a large-scale construction job, we've got you covered.
So, if you're interested in learning more about our products or have any questions, don't hesitate to reach out. We'd love to help you find the perfect masking film for your next project.
References
- "Masking Film: A Comprehensive Guide." DIY Home Improvement Magazine, vol. 12, no. 3, 2022, pp. 45-52.
- "How to Remove Masking Tape Without Damaging the Surface." Automotive Detailing Today, vol. 8, no. 4, 2021, pp. 67-73.
- "The Science of Adhesives: Understanding Masking Film." Industrial Supply Journal, vol. 15, no. 2, 2020, pp. 23-29.